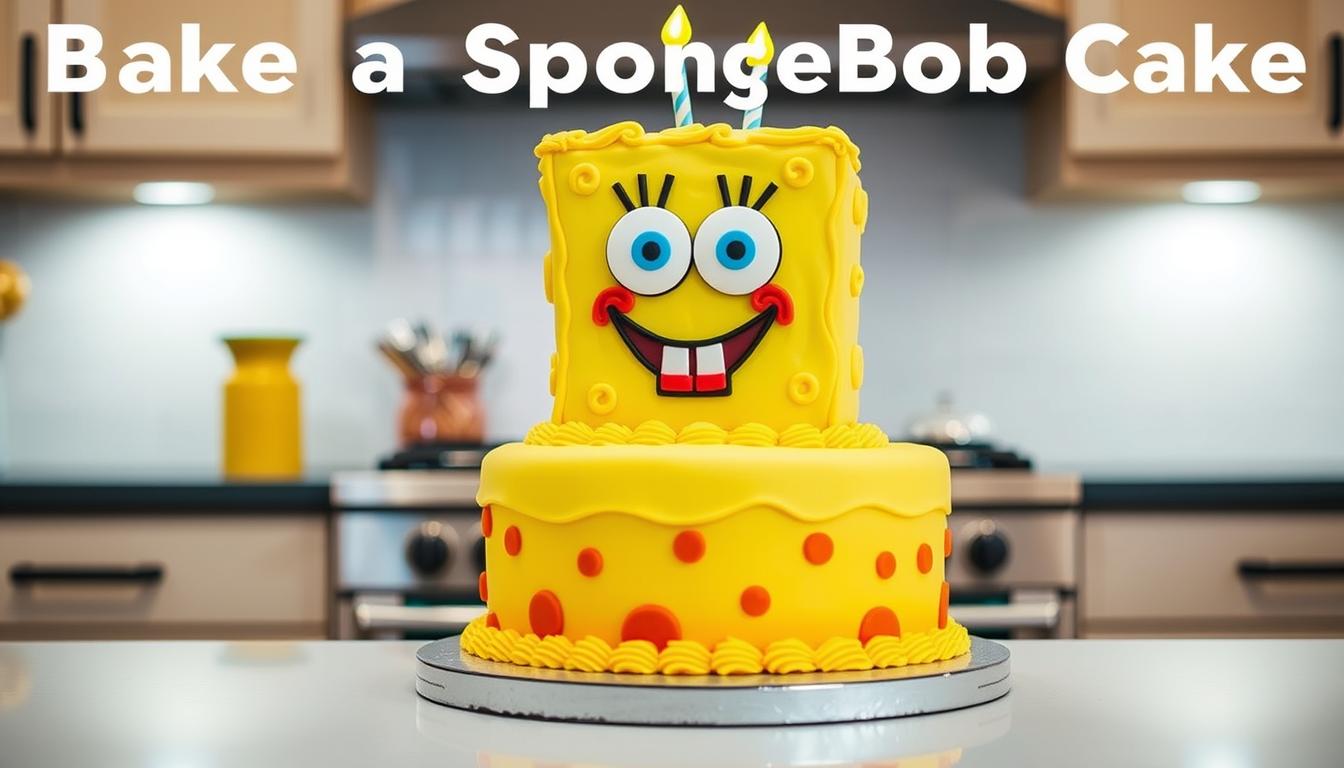
Making a SpongeBob cake is a great way to make any kids’ party special. SpongeBob is loved by both kids and adults. A SpongeBob cake is sure to be the star of any party.
It might seem hard to make a SpongeBob cake, but it’s easier than you think. This recipe guides you through each step. You’ll be able to make a SpongeBob cake that looks amazing, just like from the show.
Table of Contents
Essential Ingredients and Tools for Your SpongeBob Cake
Making a stunning SpongeBob squarepants cake needs careful planning and the right tools. Before you start baking, make sure you have all the necessary ingredients and tools. This will help your fondant cake decoration look amazing.
Cake Ingredients for the Perfect Base
The base of a great SpongeBob cake is built with quality ingredients. You’ll need:
- All-purpose flour
- Granulated sugar
- Unsalted butter
- Large eggs
- Vanilla extract
- Buttermilk
- Baking powder
- Salt
Essential Decorating Tools
To decorate your SpongeBob cake, you’ll need specific tools. Get these essential items:
- Offset spatula
- Fondant smoothers
- Sharp kitchen knife
- Rolling pin
- Cake turntable
- Piping bags
- Various sized decorating tips
Selecting Fondant and Food Coloring
Choose the right fondant and colors to bring SpongeBob to life. Use yellow fondant as the main color. You’ll also need black, white, and blue for details. Use professional-grade food coloring gels for bright, true colors.
Pro tip: Buy pre-colored fondant or knead food coloring well to get SpongeBob’s yellow. Practice mixing colors before decorating your cake.
Creating the Perfect Yellow Cake Base
Making the perfect yellow cake base is key for your SpongeBob-themed cake. Your pineapple under the sea cake needs a moist, tasty base. It should match SpongeBob’s bright yellow and excite the kids at the party.
First, gather your main ingredients:
- 2½ cups all-purpose flour
- 2 cups granulated sugar
- 1 cup unsalted butter
- 4 large eggs
- 1 cup whole milk
- 2 teaspoons vanilla extract
- 2 teaspoons baking powder
- ½ teaspoon salt
To get the right yellow color, use bright yellow food coloring. Mix dry ingredients apart from wet ones. Cream butter and sugar until it’s light and fluffy. Then, add eggs one by one. Mix in dry ingredients and milk alternately to get a smooth batter.
Here are some baking tips for your SpongeBob cake:
- Preheat oven to 350°F
- Grease and flour cake pans
- Bake for 25-30 minutes
- Check doneness with a toothpick
- Allow cake to cool completely before decorating
For a tropical twist, add a hint of pineapple extract. This will make your cake even more special for the kids and party guests.
Making SpongeBob’s Signature Square Shape
Turning a regular cake into a SpongeBob cake is all about precision and creativity. Cake sculpting is like bringing your favorite cartoon characters to life. To get SpongeBob’s look right, his square shape is key.
When making a cartoon cake, precision is everything. You need to sculpt SpongeBob carefully to make him look real and recognizable.
Cutting and Stacking Techniques
Begin with a solid cake base for sculpting. Here’s how to sculpt SpongeBob’s cake:
- Freeze the cake for 30 minutes to make cutting easier
- Use a sharp serrated knife for clean, precise cuts
- Measure and mark your cutting lines before slicing
- Stack layers carefully, using buttercream between each section
Achieving the Perfect Proportions
Getting the right proportions is crucial for a cartoon cake. SpongeBob’s shape needs careful measurement and cutting:
- Determine the ideal height and width of your cake
- Create a paper template to guide your cutting
- Remove excess cake gradually
- Check symmetry from multiple angles
Remember, patience is key to turning a simple cake into a masterpiece. Take your time and don’t rush the sculpting.
Preparing the Fondant for Decoration
To make a stunning Nickelodeon cake, you need to master fondant decoration. Your SpongeBob cake will come to life with the right fondant. Start by choosing high-quality fondant to turn your cake into a cartoon masterpiece.
Before decorating, prepare your fondant well. Begin by kneading it until it’s smooth and easy to work with. Here are some key tips for working with fondant:
- Dust your work surface with powdered sugar to prevent sticking
- Knead the fondant for 3-5 minutes to achieve the right consistency
- Use gel food coloring for vibrant SpongeBob yellow and other colors
- Roll fondant to a 1/8 inch thickness for optimal coverage
Color matching is key for your Nickelodeon cake. SpongeBob’s yellow needs careful mixing. Start with a small amount of yellow gel food coloring and add more until you get the perfect shade. Wear food-safe gloves to keep your fondant clean and prevent color transfer.
Professional bakers say to let colored fondant rest for about 30 minutes before using it. This lets the color fully develop for a uniform look on your cake. With practice, you’ll make a SpongeBob cake that looks just like the cartoon character.
Step-by-Step Guide to SpongeBob Cake Assembly
Making a spongebob cake needs careful planning and precise sculpting. The way you assemble your cake will affect its look and stability. It’s key to creating a character-themed masterpiece.
Assembling your SpongeBob cake involves several important steps. These steps turn individual cake parts into a complete character design.
Establishing a Solid Foundation
Begin by picking a sturdy cake board that can hold the whole structure. Your base should be a bit bigger than the cake’s final size. This ensures stability during sculpting.
- Choose a thick, rigid cake board
- Ensure board is clean and dry
- Center your first cake layer precisely
Strategic Layering Techniques
Layering your spongebob cake needs focus on detail. Add a thin cardboard support between big layers to stop sagging and keep the structure strong.
- Level each cake layer carefully
- Apply even frosting between layers
- Use dowel rods for additional support
Mastering the Crumb Coat
The crumb coat is a vital step for a smooth surface on your SpongeBob cake. This thin frosting layer seals in loose crumbs and prepares the cake for decoration.
Pro tip: Refrigerate your cake after applying the crumb coat. This helps it set fast and gives a solid base for detailed decorating.
Creating SpongeBob’s Facial Features

Making SpongeBob’s facial features right is crucial for a true SpongeBob Squarepants cake. The face makes your cake come alive with its charm and personality.
First, get your fondant ready in the right colors. You’ll need:
- White fondant for eyes
- Blue food coloring for eye color
- Black fondant for pupils
- Skin-tone fondant for facial base
To make SpongeBob’s big blue eyes, roll white fondant into circles. Add small black pupils in the middle for that cartoon look. Use a tiny brush for eyelashes and freckles.
For his famous buck-toothed smile, shape white fondant into two rectangular teeth. Place them a bit off-center to show SpongeBob’s playful side.
| Feature | Materials Needed | Technique |
|---|---|---|
| Eyes | White, blue, black fondant | Roll, cut, and layer carefully |
| Teeth | White fondant | Shape rectangular, slight angle |
| Freckles | Edible food paint | Small dots using fine brush |
Pro tip: Use a small paintbrush and edible food coloring for delicate details. This makes your SpongeBob Squarepants cake truly come alive.
« The secret is in the details! » – Cake Decorating Wisdom
Attach the facial features carefully to your cake’s fondant surface. Work slowly and use a small amount of water or edible glue to secure each element precisely where you want it.
Adding Character Details and Textures
Turning your spongebob birthday cake into a masterpiece needs focus on small details. The right fondant decoration can make SpongeBob look real and charming.
Making a perfect SpongeBob cake is more than just its shape. It’s about capturing his unique look and personality with careful design.
Making the Signature Holes
SpongeBob’s holes are key to his look. You can make these holes in a few ways:
- Use a small round piping tip to press gentle indentations
- Employ a clean straw or small dowel for consistent hole sizes
- Vary hole depths to create natural-looking texture
- Work carefully to maintain an even surface
Creating the Clothing Details
Fondant decoration shines when making SpongeBob’s outfit. You need to be precise with his square pants and white shirt.
- Roll fondant to thin, even consistency
- Cut precise geometric shapes for pants and shirt
- Use food-safe coloring to achieve vibrant yellow, white, and red tones
- Add tiny details like stitching or seams for realism
Your spongebob birthday cake will be unforgettable with these detailed touches. They turn a simple cake into a masterpiece.
Underwater Theme Decorations
Turn your underwater themed cake into a lively Bikini Bottom scene with creative decorations. These will bring your pineapple under the sea cake to life! Creating an underwater world needs detail and smart decorating tricks.

Begin by making a sea backdrop for your SpongeBob cake. Use blue fondant or royal icing for a smooth water base. This makes your cake look like it’s underwater.
- Create edible seaweed using green fondant strips
- Craft coral formations with textured fondant techniques
- Design small jellyfish using translucent sugar work
- Add SpongeBob’s iconic pineapple house as a cake topper
Your pineapple under the sea cake can have many underwater elements. These capture SpongeBob’s world’s essence. Use these decorating tips to make your cake pop:
| Decoration Element | Technique | Difficulty Level |
|---|---|---|
| Seaweed | Fondant cutting and shaping | Easy |
| Coral Reefs | Textured fondant modeling | Medium |
| Ocean Floor | Textured buttercream base | Easy |
Pro tip: Add edible pearl dust or shimmer spray for a magical, shimmering effect. It makes your cake look like the ocean’s depths and secrets.
Tips for Transportation and Storage
After making your SpongeBob cake, it’s important to keep it safe while moving and storing it. Your hard work needs careful handling to keep the cake looking great and tasting good.
Storing your SpongeBob cake right is key. It needs special care to keep its detailed decorations and shape intact.
Refrigeration and Preservation Techniques
Here are some important tips for storing your SpongeBob cake:
- Wrap the cake loosely in plastic wrap to prevent moisture buildup
- Store in a refrigerator at consistent 40°F temperature
- Keep away from strong-smelling foods that might transfer odors
- Consume within 2-3 days for optimal freshness
Safe Transportation Strategies
When moving your children’s cake, plan carefully. Use these tips to keep it safe:
- Place cake on a non-slip surface in the vehicle
- Use a cake carrier with secure lid
- Maintain level positioning during transport
- Avoid sudden stops or sharp turns
Pro tip: Consider placing the cake box on a flat surface like a baking sheet for extra stability during movement.
Common Mistakes to Avoid When Making a SpongeBob Cake
Making a SpongeBob cake needs precision and skill. Even skilled bakers face challenges with fondant. Knowing common mistakes helps you make a great SpongeBob cake.
Here are some mistakes to watch out for:
- Fondant cracking due to improper handling
- Color bleeding between different fondant sections
- Inaccurate character proportions
- Uneven surface textures
Fondant decoration requires careful temperature control. Room temperature is crucial for working with fondant. Too hot or cold can make it too soft or brittle, ruining your cake.
Color consistency is also key. Use gel food coloring for bright, even colors. Always knead your fondant well to spread color evenly before decorating.
Getting the proportions right is important. Use templates or images to ensure SpongeBob looks right. Measure and mark your cake before decorating to keep it accurate.
Pro tip: Practice makes perfect! Don’t get discouraged if your first attempt isn’t flawless.
Smooth application is essential for a professional look. Work slowly, use cornstarch to prevent sticking, and smooth fondant gently. This avoids wrinkles or air bubbles.
Conclusion
Making a SpongeBob birthday cake is more than baking. It’s a chance to create a special centerpiece for any Nickelodeon fan. You’ll see how creativity and patience can turn simple ingredients into a masterpiece.
Every SpongeBob cake is unique. Small mistakes can make your cake special. Baking is about the journey and the joy it brings to others.
Make your SpongeBob cake personal. Add the birthday child’s name or other Bikini Bottom characters. Your cake will be a delicious work of art that stands out.
The effort you put into your cake will be worth it. Seeing the excitement in others’ eyes is rewarding. So, dive into the challenge, enjoy the process, and become a baking hero.