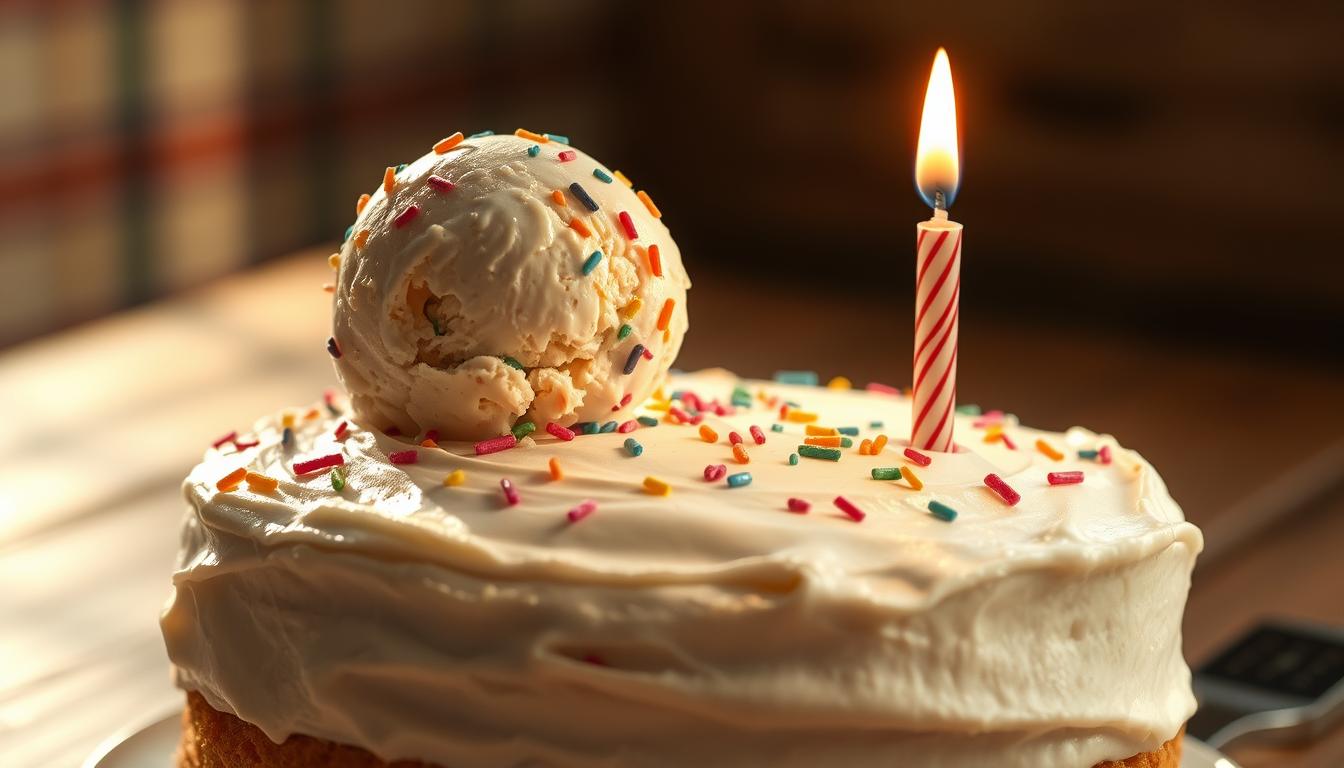
Imagine a creamy, dreamy dessert that brings joy to birthday or any occasion. This homemade treat combines a smooth base with the nostalgic flavors of celebration. It’s perfect for sharing with loved ones or enjoying on your own.
What makes this recipe special is its simplicity. Even if you’re new to making frozen desserts, you’ll find it easy to follow. The result is a rich, flavorful creation that outshines store-bought options.
Customize it with your favorite mix-ins for a personal touch. Whether it’s a special event or just a sweet craving, this treat is sure to delight. Let’s dive into how you can create this masterpiece at home.
Table of Contents
Ingredients and Tools for the Best Birthday Cake Ice Cream
Crafting the perfect dessert starts with the right ingredients and tools. Whether you’re a beginner or a seasoned cook, having the right components ensures a smooth and creamy result. Let’s explore what you’ll need to make this delightful treat.
Essential Ingredients
To create a rich and flavorful ice cream base, you’ll need heavy cream, whole milk, and granulated sugar. These ingredients form the foundation of your homemade ice cream, giving it a creamy texture and balanced sweetness.
Add extracts like vanilla and cake batter for that nostalgic birthday cake flavor. For the cake component, you can use homemade or store-bought cupcakes. Rainbow sprinkles add a fun and colorful touch.
Must-Have Equipment
Investing in a reliable ice cream maker is crucial for achieving the perfect consistency. A baking sheet is also handy for preparing the cake crumbles. Measuring cups and spoons ensure accuracy, while a mixing bowl and whisk help combine ingredients smoothly.
| Ingredient | Quantity | Purpose |
|---|---|---|
| Heavy Cream | 1.5 cups | Creates a rich and creamy texture |
| Whole Milk | 1.5 cups | Balances the richness of the cream |
| Granulated Sugar | 0.5 cups | Adds sweetness and smoothness |
| Vanilla Extract | 1 teaspoon | Enhances flavor depth |
| Rainbow Sprinkles | 0.5 cups | Adds color and fun |
With these ingredients and tools, you’re ready to create a homemade birthday cake Ice Cream dessert that’s both delicious and memorable. Let’s move on to the next steps!
Step-by-Step Guide to Creating Birthday Cake Ice Cream
Transform simple ingredients into a creamy masterpiece with this easy-to-follow guide. Whether you’re a beginner or a seasoned cook, these steps will help you create a smooth and indulgent dessert that’s perfect for any occasion.
Churning Process Details
Start by preparing your cream base. Combine heavy cream, whole milk, and granulated sugar in a mixing bowl. Whisk until the sugar dissolves completely. Add vanilla extract and cake batter flavoring for that nostalgic taste.
Pour the mixture into your cream maker. Churn for 20-25 minutes until it reaches a soft-serve consistency. This step ensures a smooth and creamy texture.
Layering Techniques for Frosting and Sprinkles
Once the cream base is ready, it’s time to add the fun elements. Gently fold in crumbled cake pieces and rainbow sprinkles during the last 5 minutes of churning. This ensures even distribution without overmixing.
For the final touch, layer the dessert in a container. Alternate between the cream mixture, frosting swirls, and extra sprinkles. This creates a visually appealing and flavorful treat.
| Step | Time | Details |
|---|---|---|
| Prepare Cream Base | 10 minutes | Mix ingredients until smooth |
| Churn in Cream Maker | 20-25 minutes | Until soft-serve consistency |
| Add Mix-Ins | Last 5 minutes | Fold in cake and sprinkles |
| Layer and Freeze | 4-6 hours | Alternate cream, frosting, and sprinkles |
With these steps, you’ll create a cream recipe that’s both delicious and visually stunning. Enjoy the process and the sweet results!
Tips for Crumbling Cake and Incorporating Sprinkles
Perfecting the texture of your dessert starts with the right techniques for crumbling and sprinkling. The way you handle these elements can elevate your creation from good to exceptional. Let’s dive into the details to ensure every bite is a delight.
Choosing the Right Cake
Whether you use a homemade vanilla cake or bakery cupcakes, the texture matters. Homemade options allow you to control the moisture level, while bakery cupcakes often have a denser crumb. Both work well, but the choice depends on your preference.
For a richer flavor, consider using a vanilla-based cake. Its subtle sweetness complements the dessert without overpowering it. Crumble the cake into small, even pieces to ensure a consistent texture throughout.
The Importance of Sprinkles
Not all sprinkles are created equal. Opt for non-candy-coated varieties, often called “jimmies,” to avoid color bleeding. These maintain their vibrant hues and add a fun, crunchy texture to your dessert.
When incorporating sprinkles, fold them in gently during the last few minutes of mixing. This ensures even distribution without overworking the mixture.
« The right sprinkles can transform a simple dessert into a celebration of color and texture. »
Fresh vs. Frozen Cake
Using fresh cake pieces provides a soft, moist texture. However, frozen cake can be easier to crumble and adds a unique firmness to the dessert. If using frozen cake, let it thaw slightly before crumbling to avoid uneven pieces.
| Cake Type | Texture | Best Use |
|---|---|---|
| Homemade | Soft and moist | For a richer flavor |
| Bakery | Dense and crumbly | For convenience |
| Frozen | Firm and even | For easier crumbling |
By following these tips, you’ll create a dessert that’s not only delicious but also visually stunning. The right techniques ensure every bite is a perfect blend of flavors and textures.
How to Achieve a Creamy Texture in Your Ice Cream
The secret to a smooth and rich dessert lies in the careful selection of dairy components. By understanding the role of key ingredients, you can create a luxuriously creamy treat that stands out.
Role of Heavy Cream and Whole Milk
Heavy cream and whole milk are the backbone of a creamy texture. The high fat content in heavy cream prevents ice crystals from forming, while whole milk balances the richness. Together, they create a smooth base that’s essential for quality desserts.
Fats play a crucial role in achieving that velvety consistency. They coat the water molecules, reducing their ability to form large ice crystals. This scientific principle ensures your homemade dessert remains smooth and indulgent.
Tips for Pre-Chilling and Dissolving Sugar
Pre-chilling your mixture is a simple yet effective step. It helps the ingredients blend seamlessly and reduces the churning time. Fully dissolving the sugar is equally important. Undissolved sugar can lead to a gritty texture, so whisk thoroughly until the mixture is smooth.
When adding mix-ins like frosting or vanilla cake pieces, timing is key. Incorporate them during the last few minutes of churning to preserve the creamy base while still adding bursts of flavor.
« The right balance of fats and proper chilling techniques are the foundation of a perfect creamy texture. »
By following these steps, you’ll master the art of creating a recipe that’s both smooth and satisfying. Enjoy the process and the delicious results!
Customizing Your Recipe with Flavor Variations
Personalizing your recipe can turn a simple treat into a unique masterpiece. By experimenting with different flavors and mix-ins, you can create a dessert that reflects your taste and creativity. Let’s explore how to tailor this recipe to your preferences.
Experimenting with Extracts
Extracts are a simple way to enhance the flavor of your dessert. Vanilla extract is a classic choice, but you can also try cake batter or butter extract for a richer taste. These options intensify the cake-like flavor, making your dessert even more indulgent.
When using extracts, start with a small amount, like one teaspoon per cup of base mixture. Adjust gradually to avoid overpowering the other flavors. This approach ensures a balanced and enjoyable result.
Adding Unique Mix-Ins
Mix-ins are a fun way to add texture and flavor. Consider white chocolate shavings, alternative sprinkles, or even crushed cookies. These additions can transform your dessert into something truly special.
When incorporating mix-ins, add them gradually during the last few minutes of churning. This ensures even distribution without overwhelming the base. For example, a half cup of mix-ins is usually enough for a standard batch.
« The right mix-ins can turn a simple dessert into a celebration of flavors and textures. »
| Mix-In | Quantity | Effect |
|---|---|---|
| White Chocolate | 0.5 cup | Adds creaminess and sweetness |
| Alternative Sprinkles | 0.25 cup | Introduces color and crunch |
| Crushed Cookies | 0.5 cup | Provides texture and flavor contrast |
By experimenting with extracts and mix-ins, you can create a dessert that’s uniquely yours. Enjoy the process and the delicious results!
Troubleshooting Common Recipe Challenges
Even the best recipes can face challenges, but with the right techniques, you can easily overcome them. Whether it’s a gritty texture or unwanted ice crystals, these issues can be fixed with a few simple adjustments. Let’s explore how to ensure your dessert turns out perfectly every time.
Dealing with Gritty Texture
A gritty texture often results from undissolved sugar. To avoid this, whisk your sugar thoroughly into the dairy mixture until it’s completely dissolved. This step ensures a smooth base for your dessert.
Pre-chilling your mixture can also help. A cold bowl reduces the risk of sugar crystallizing, which can lead to a gritty feel. Aim to chill your mixture for at least 30 minutes before churning.

Preventing Ice Crystals
Ice crystals form when the mixture freezes too quickly or isn’t churned properly. To prevent this, ensure your base is well-mixed and your bowl is adequately frozen. A properly frozen bowl helps maintain the right consistency during churning.
Churn your mixture for the recommended time, usually around 20-25 minutes. Over-churning can introduce air, leading to ice crystals. Keep an eye on the texture to ensure it’s smooth and creamy.
| Issue | Solution |
|---|---|
| Gritty Texture | Dissolve sugar completely and pre-chill mixture |
| Ice Crystals | Use a frozen bowl and churn for the right duration |
By following these tips, you can create a dessert with a smooth texture and rich flavor. Don’t let small challenges stop you from enjoying a perfect treat!
Alternatives for Non-Traditional Birthday Cake Ice Cream
Looking to shake up your dessert routine? Try these creative twists on a classic treat. By experimenting with different cake mixes, adjusting food coloring, and varying fat content, you can create a unique dessert that stands out. Let’s explore how to innovate beyond the traditional recipe.
Exploring Different Cake Mix Options
One way to add variety is by using alternative cake mixes. White, yellow, or even red velvet mixes can bring new flavors and textures to your dessert. For a richer taste, consider chocolate cake mix. It adds depth and pairs well with creamy bases.
When choosing a mix, think about the time it takes to prepare. Some mixes require extra steps, while others are quick and easy. This flexibility allows you to tailor the recipe to your schedule.
Adjusting Food Coloring for Visual Appeal
Food coloring is a simple way to enhance the color of your dessert. For a vibrant look, use gel-based colors instead of liquid ones. They are more concentrated and won’t dilute your mixture.
Experiment with shades to match the theme of your event. For example, pastel tones work well for spring, while bold hues are perfect for summer. Just remember to add coloring gradually to avoid overpowering the flavor.
Varying Fat Content for Texture
The fat content in your dairy ingredients plays a key role in texture. Heavy cream creates a rich, creamy base, while lower-fat options like whole milk result in a lighter dessert. For a balanced approach, mix both to achieve the desired consistency.
If you’re short on time, pre-chill your ingredients for at least an hour. This step ensures a smoother texture and reduces churning time.
| Ingredient | Effect |
|---|---|
| White Cake Mix | Light, fluffy texture |
| Chocolate Cake Mix | Rich, indulgent flavor |
| Red Velvet Mix | Unique color and taste |
By exploring these alternatives, you can create a dessert that’s both delicious and visually stunning. Whether you’re experimenting with flavors or adjusting textures, the possibilities are endless.
Storage and Serving Ideas to Enjoy Your Ice Cream
Keeping your dessert fresh and flavorful requires proper storage and creative serving ideas. By following expert tips, you can ensure your treat stays delicious and visually appealing. Let’s explore the best ways to store and serve your creation.
Best Practices for Freezing
To maintain the texture of your dessert, transfer it into an airtight container immediately after churning. Press a piece of plastic wrap directly onto the surface before sealing. This prevents ice crystals from forming and keeps the texture smooth.
Store the container in the coldest part of your freezer, ideally at 0°F (-18°C) or lower. For long-term storage, wrap the container in aluminum foil for added protection. This method ensures your dessert stays fresh for up to a month.

Creative Serving Suggestions
When it’s time to serve, let the dessert sit at room temperature for 5-10 minutes. This softens it slightly, making it easier to scoop. For a fun twist, serve it in waffle cones or alongside slices of cake.
Add a pop of color with rainbow sprinkles or drizzle with chocolate sauce. These small touches enhance both the flavor and presentation. For gatherings, consider pre-scooping portions into bowls for easy serving.
| Storage Tip | Benefit |
|---|---|
| Use Airtight Container | Prevents freezer burn |
| Press Plastic Wrap on Surface | Reduces ice crystals |
| Wrap in Aluminum Foil | Extends freshness |
By following these storage and serving tips, you can enjoy your dessert at its best. Whether it’s a casual treat or a special occasion, these ideas ensure every bite is a delight.
Conclusion
Creating a delightful dessert at home is easier than you think. From crafting the perfect base to troubleshooting common issues, this recipe offers a fun and rewarding experience. Quality ingredients and clear instructions ensure success every time.
Feel free to experiment with your own variations. Add a cup rainbow sprinkle or try a different cookie base to make it uniquely yours. Celebrate your creativity and enjoy the process of making something special in your kitchen.
Once you’ve mastered the recipe, share your results on social media. Connect with a community passionate about desserts and inspire others to try this festive treat. Whether it’s for a special occasion or just because, this homemade cupcake-inspired creation is sure to bring joy.
Take the first step today and enjoy the sweet rewards of your efforts. Happy cooking!

