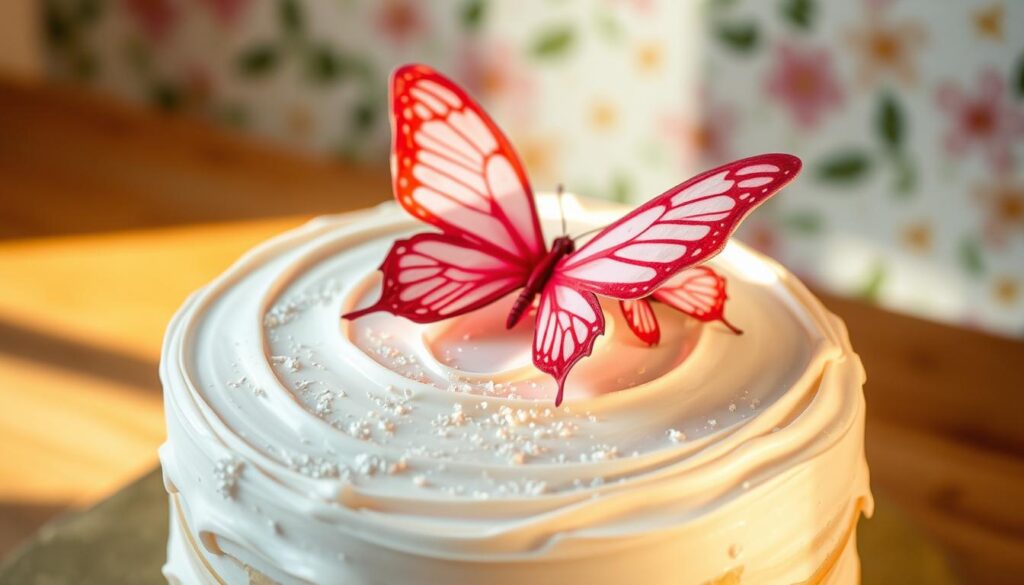
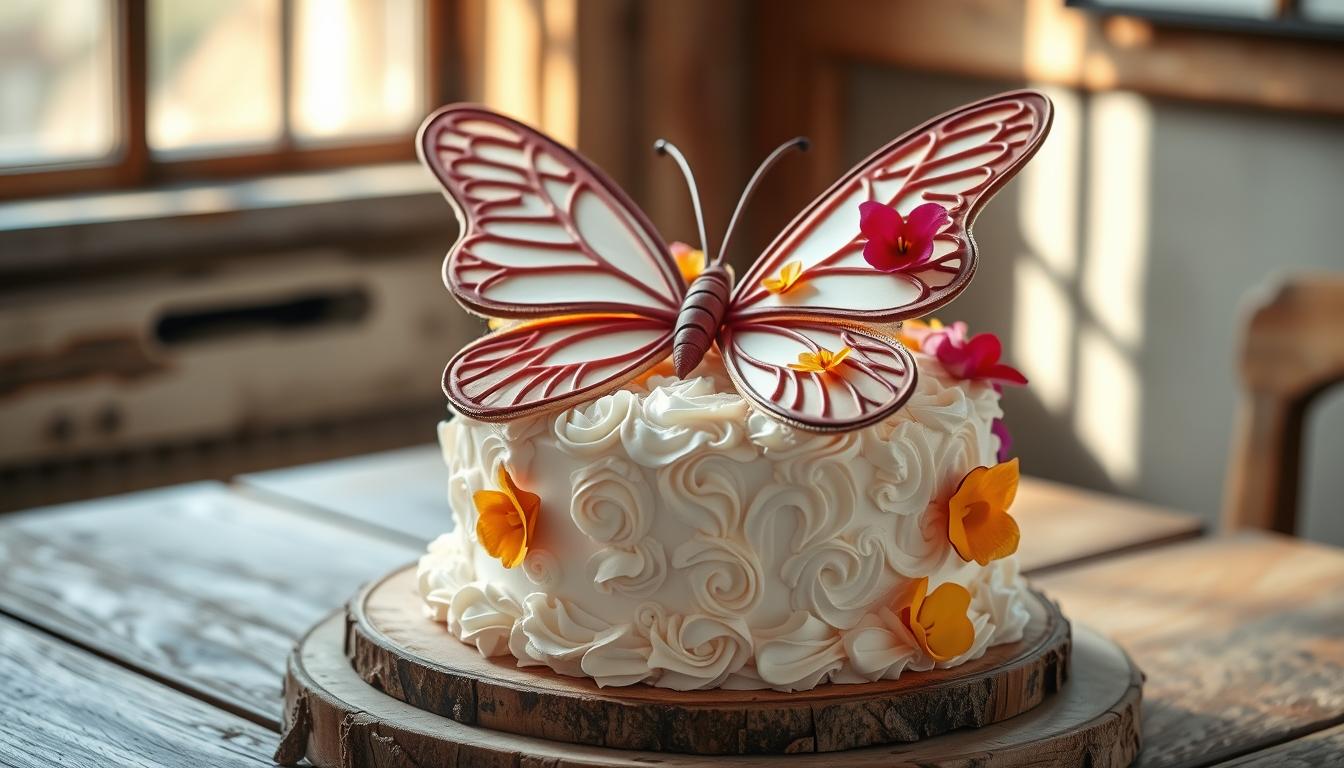
Transform your baking skills with a butterfly cake that’s as delightful to make as it is to serve. This recipe combines creativity with simplicity, making it perfect for both beginners and experienced bakers. Whether you’re preparing for a birthday, wedding, or just a fun weekend project, this dessert will surely impress.
Using a box cake mix as the base, this guide ensures you save time without compromising on taste. You’ll also learn how to incorporate unique ingredients like assorted candies and licorice to craft the butterfly’s body and antennae. The step-by-step instructions will walk you through baking, cutting, and decorating your creation.
From shaping the wings to adding vibrant frosting details, this recipe encourages you to experiment with colors and textures. By the end, you’ll have a stunning centerpiece that’s as much a work of art as it is a delicious treat.
Table of Contents
Introduction to the Enchanting World of Butterfly Cakes
Unlock your creativity by crafting a dessert that’s as beautiful as it is delicious. This unique creation combines the artistry of design with the joy of baking, making it a perfect project for any occasion. Whether you’re a beginner or an experienced baker, this guide will inspire you to create something truly magical.
Discovering the Unique Appeal of a Butterfly Cake
What makes this dessert so captivating? It’s the perfect blend of visual elegance and delightful flavors. The wing design, created by cutting a half cake, transforms a simple dessert into a work of art. Vibrant frosting and gel food color bring the design to life, making it a feast for the eyes and the palate.
Using a template ensures precision, while ingredients like candies and licorice add playful details. Each step of the process encourages you to experiment with color and texture, making the final result uniquely yours.
Overview of the How-To Guide for Creating Your Masterpiece
This guide will walk you through every stage of the process, from baking to decorating. You’ll learn how to handle layer cakes, create the perfect wing shape, and add intricate details. Tools like spatulas and stencils will help you achieve professional results.
- Master the art of cutting and shaping the cake for a stunning wing design.
- Discover how to use food color to create vibrant patterns.
- Add finishing touches with candies and decorative elements for a personalized touch.
By the end of this guide, you’ll have the skills and confidence to create a dessert that’s as enchanting as it is delicious. Let’s dive in and bring your vision to life!
Essential Ingredients and Tools for Your Creative Cake Journey
Prepare for a seamless baking experience with the right ingredients and tools. Whether you’re a beginner or a seasoned baker, having the essentials on hand ensures your dessert turns out perfectly. This section covers everything you’ll need to create a stunning and delicious masterpiece.
Must-Have Ingredients and Flavors for a Great Cake
Start with a reliable base like a box cake mix for convenience. For a homemade touch, consider classic flavors like chocolate or vanilla. Adding a layer of sugar syrup keeps your cake moist and flavorful.
For decorating, vibrant frosting and gel food color are essential. These help you create eye-catching patterns and designs. Don’t forget playful elements like jelly beans or licorice for the butterfly’s body and antennae.
Tools and Equipment: From Cake Mix to Spatulas
Precision is key when it comes to tools. A 6-inch cake pan ensures even baking, while an exacto knife helps with clean cuts. A rotating cake stand makes frosting application smooth and effortless.
Invest in quality spatulas for spreading frosting and a sturdy template for shaping the wings. These tools not only save time but also elevate your final result. Remember, having extra ingredients on hand can save the day if mistakes happen.
With the right supplies, your baking journey will be both enjoyable and successful. Now, let’s move on to the next steps in creating your masterpiece.
Step-by-Step Guide to Creating an Exquisite Butterfly Cake
Crafting a stunning dessert is easier than you think with this step-by-step guide. From baking to decorating, each stage is designed to help you achieve professional results at home. Let’s dive into the process and bring your vision to life.
Preparing Your Cake: Baking, Cutting, and Moistening Techniques
Start by baking your dessert in a 9 or 10-inch round pan. For a moist texture, use a box mix or homemade batter with room-temperature ingredients. Avoid overmixing to ensure a light and fluffy result.
Once baked, let it cool completely before leveling the top with a serrated knife. Divide it into two equal halves to form the wings. For added moisture, brush each layer with a simple sugar syrup.

Frosting and Assembling: Bringing Wings and Body Together
Apply a base layer of frosting to each half to seal in moisture. Use contrasting colors to define the inner and outer wing areas. Align a Twinkie or similar treat as the body, securing it with frosting.
Place the halves on a serving tray, angling them slightly to create a natural wing shape. Use a rotating stand for smooth and even frosting application.
Adding the Finishing Touches: Templates, Candies, and Decorative Tips
For intricate patterns, use a paper template and toothpick guides. Trace the design onto the wings with contrasting frosting. Add playful details like candies for the antennae and sprinkles for texture.
Decorate as close to serving time as possible to maintain the vibrancy of the colors. With patience and precision, your creation will be a show-stopping centerpiece.
« The key to a stunning dessert lies in the details. Take your time with each step, and the results will speak for themselves. »
| Step | Tool | Purpose |
|---|---|---|
| Baking | Round Pan | Ensures even baking |
| Cutting | Serrated Knife | Creates clean edges |
| Frosting | Rotating Stand | Provides smooth application |
| Decorating | Toothpick | Guides intricate patterns |
Advanced Decorating Techniques and Expert Tips
Take your baking to the next level with expert tips for stunning designs. Whether you’re a seasoned baker or just starting, these advanced techniques will help you create a dessert that’s as visually captivating as it is delicious. Let’s explore how to elevate your decorating skills.
Using Stencils and Gel Food Colors for a Striking Wing Design
Stencils are a game-changer for creating intricate patterns. Use durable cardstock or reusable templates to trace designs onto your dessert. Pair them with gel food colors for vibrant, bleed-free results. Swiss buttercream works best for smooth application and sharp details.

For a professional finish, apply the stencil gently and use a spatula to spread the frosting evenly. Experiment with different patterns to make each wing unique. This method ensures precision and consistency, even for complex designs.
Creative Candy Arrangements and Decorative Enhancements
Candies add a playful touch to your creation. Use jelly beans or licorice for the body and antennae. Arrange them symmetrically for a polished look. For the wings, consider sprinkles or edible glitter to add texture and sparkle.
Place candies strategically to enhance the overall design. Use a template to guide placement and ensure balance. This approach not only improves visual appeal but also adds a fun, interactive element to your dessert.
- Master intricate designs with stencils and gel food colors.
- Use candies and sprinkles for playful, eye-catching details.
- Experiment with patterns and textures to personalize your creation.
- Balance flavor and artistry with thoughtful ingredient choices.
- Take risks with bold color combinations for a standout dessert.
With these advanced techniques, you’ll transform your dessert into a true masterpiece. Let your creativity shine and enjoy the process of bringing your vision to life.
Conclusion
Creating a stunning dessert is a rewarding experience that combines creativity and precision. From selecting the right ingredients to mastering the art of frosting, each step plays a vital role in achieving a visually appealing result. Using a template ensures your design is symmetrical, while food color adds vibrant details.
Experiment with different candy arrangements and layer textures to make your creation unique. Precision in measurements and techniques ensures your dessert not only looks great but tastes amazing too. Whether you’re a beginner or an expert, this guide equips you with the tools to succeed.
Don’t hesitate to share your masterpiece with others. Revisit this guide for future projects and explore more creative ideas. With these tips, you’re ready to craft a dessert that’s as delightful to make as it is to enjoy.

