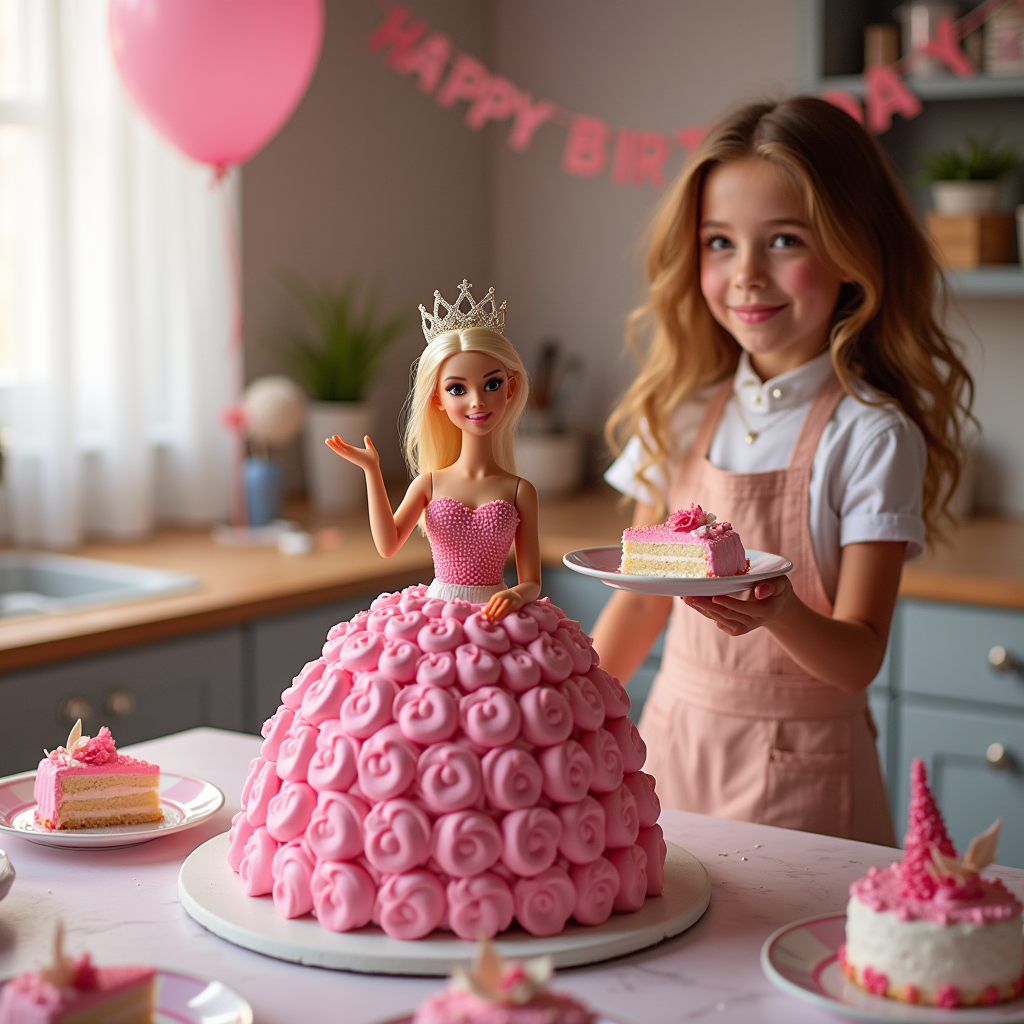
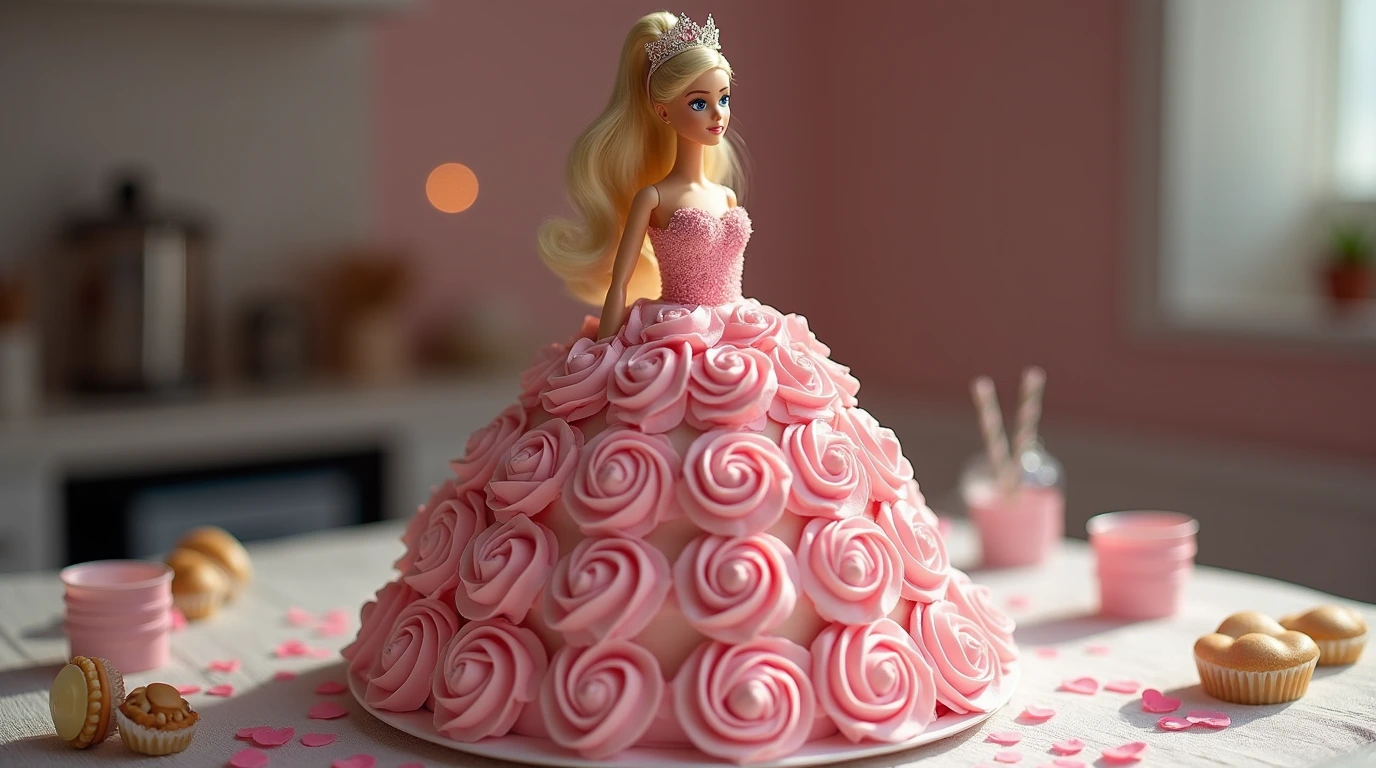
Creating a Barbie cake is the ultimate way to bring a smile to any child’s face, especially for a birthday or special celebration. This stunning cake, designed to resemble a Barbie doll with a flowing, edible gown, is both fun and surprisingly simple to make. Whether you’re a beginner baker or just looking for some creative cake-decorating inspiration, this step-by-step guide will help you craft a Barbie cake that is sure to impress.
In this tutorial, you’ll discover the essential ingredients, tools, and techniques you need to bake, carve, and decorate a flawless Barbie cake—all while keeping it beginner-friendly. Let’s get started !
Table of Contents
What You Need to Make the Perfect Barbie Cake
Before diving into the baking process, let’s gather everything you’ll need. Having your tools and ingredients ready will save you time and ensure a smooth baking experience.

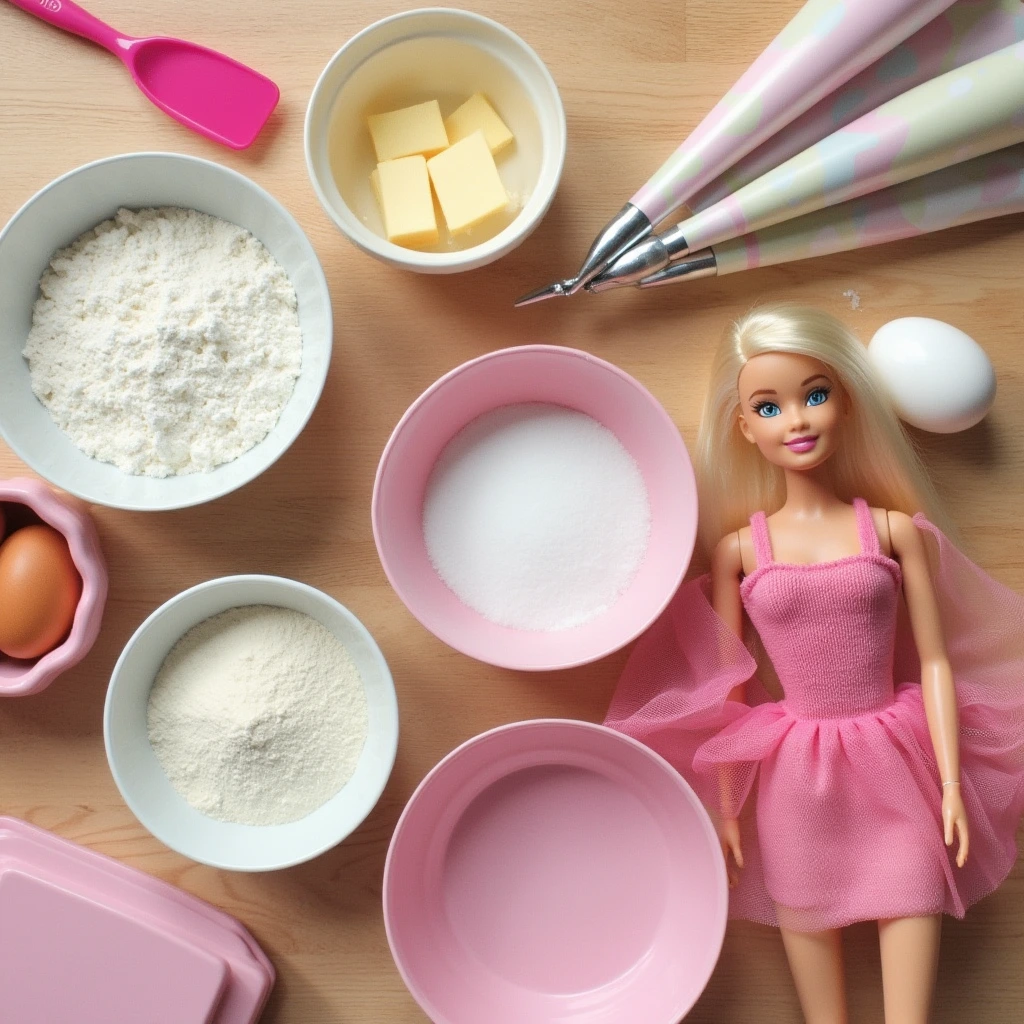
Ingredients for the Cake and Frosting
- Cake Base: You can use any cake flavor you love (vanilla, chocolate, or funfetti are great options). For a taller Barbie cake, you’ll need at least 3-4 layers.
- Buttercream Frosting: This will help you layer the cakes, coat the outside, and add beautiful decorations.
- Fondant (Optional): Perfect for creating a smooth gown or intricate dress details.
- Food Coloring: Use pink, pastel shades, or any theme colors you prefer.
- Edible Decorations: Think sprinkles, edible pearls, glitter, and flowers to enhance the cake’s beauty.
Essential Baking Tools
- Barbie Doll: A clean, food-safe Barbie doll or similar-sized figurine.
- Cake Pans: 6-inch or 8-inch round cake pans work best for creating layers.
- Turntable: Makes frosting and decorating much easier.
- Offset Spatula: For smoothing the frosting.
- Piping Bags and Tips: Ideal for creating decorative ruffles, flowers, or swirls.
- Cake Board: To hold and display your Barbie cake securely.
Decoration Materials
- Fondant Accessories: Pre-made bows, flowers, or lace designs for a polished look.
- Piping Gel or Edible Glue: To attach fondant details.
- Dusting Powder: Adds a shimmering effect to the gown.
Once you have everything ready, it’s time to bake and build your Barbie cake masterpiece.
Step-by-Step Guide to Baking the Barbie Cake
Now let’s bring your Barbie cake to life! Follow these steps for baking and preparing the cake base.
Step 1: Prepare the Cake Batter
Choose your favorite cake recipe or use a boxed mix for convenience. Follow these steps:
- Preheat your oven to 350°F (175°C) and grease your cake pans.
- Prepare the batter according to your recipe instructions.
- Divide the batter evenly between 3-4 cake pans to create multiple layers. This will form the “gown” structure.
- Bake the cakes for 20-25 minutes, or until a toothpick poked into the middle comes out clean.
- Let the cakes cool completely before moving on.
Step 2: Carve and Stack the Cake Layers
- Place one layer of cake on a cake board.
- Spread a thin layer of buttercream frosting on top to act as a glue.
- Stack the remaining layers, applying frosting between each one.
- Once stacked, use a sharp knife to carefully carve the cake into a dome shape that resembles the skirt of a ballgown.
Tip: Start carving from the sides and work your way in. Don’t worry about perfection—you’ll smooth it out with frosting later.
Step 3: Insert the Barbie Doll
- Remove the legs from your Barbie doll or wrap the lower half in plastic wrap to keep it clean.
- Gently insert the doll into the middle of the cake, pressing down until the torso is stable.
The cake should now look like Barbie’s skirt, and you’re ready to move on to the fun part: decorating!
Decorating Your Barbie Cake Like a Pro
This is where you get creative and turn your carved cake into a beautiful Barbie gown. Here’s how:
Using Buttercream Frosting for a Smooth Finish
- Start with a crumb coat: Spread a thin layer of buttercream over the entire cake to trap crumbs.
- Chill the cake for 15-20 minutes to set the crumb coat.
- Apply a second, thicker layer of buttercream, smoothing it with an offset spatula.
- Use a turntable for even coverage and clean edges.
Fondant vs. Buttercream: Which Works Best?
- Buttercream: Ideal for beginners. It’s easier to apply, and you can use piping techniques for ruffles and swirls.
- Fondant: Gives a smooth, polished finish and allows for intricate details. If using fondant, roll it out evenly and drape it over the cake, trimming any excess.
Adding Details: Skirt Ruffles, Pearls, and Glitter
- Use a piping bag fitted with a ruffle tip to create layers of frosting that look like fabric.
- Add edible pearls or flowers along the edges for an elegant touch.
- Sprinkle edible glitter over the skirt for a magical, sparkling effect.
- Use fondant to create bows, lace patterns, or accents on the gown.
Your cake will now look like a show-stopping centerpiece worthy of any celebration!
Barbie Cake Ideas and Design Inspirations
Need some creative ideas to make your Barbie cake extra special? Here are a few popular designs to inspire you:
Classic Pink Princess Barbie Cake
- Use soft pink frosting and add delicate fondant flowers for a timeless princess look.
Rainbow-Themed Barbie Cake
- Bake rainbow-colored layers and cover the skirt with multicolored frosting swirls for a vibrant, fun design.
Frozen-Themed Barbie Cake
- Use shades of blue and white frosting to mimic Elsa’s ice-blue gown. Add snowflakes made of fondant or royal icing.
Minimalist Barbie Cake Design
- For a modern twist, stick to one solid color (like white or pastel) and add minimal accents like pearls or bows.
Let your creativity run wild and choose a theme that fits the occasion !
Tips and Tricks for Beginners to Nail the Barbie Cake
As a beginner, creating a Barbie cake might seem intimidating, but these tips will help you avoid common mistakes:
Preventing Common Mistakes
- Avoid Crumbly Cakes: Make sure your cakes are fully cooled before carving.
- Smoothing the Frosting: Use a heated spatula to achieve a clean finish.
- Centering the Doll: Measure the cake height beforehand to ensure the doll fits perfectly.
Choosing the Right Barbie Doll
- Select a Barbie with a slim waist, as it will fit better into the cake.
- Wrap the doll’s lower half in plastic wrap to keep it food-safe and clean.
Time-Saving Hacks for Busy Bakers
- Use pre-made cake mixes and fondant to cut down prep time.
- Make the cake layers a day ahead and freeze them for easier carving.
Storing and Transporting Your Barbie Cake
- Store the finished cake in the fridge to keep the frosting firm.
- Use a sturdy cake box for transportation to avoid damage.
With these tips in mind, you’ll have a flawless Barbie cake ready to impress your guests.

Conclusion
Congratulations! You’ve just learned how to create the perfect Barbie cake step by step. From baking and carving to decorating like a pro, this guide has equipped you with all the tools and tips you need to bring your cake to life. Whether you’re crafting a classic pink princess gown or experimenting with themed designs, your Barbie cake is sure to be the highlight of the celebration.
Ready to give it a try? Gather your ingredients, roll up your sleeves, and start baking! Don’t forget to share your Barbie cake creations with us—we’d love to see your masterpiece.
For more fun cake ideas, recipes, and tutorials, subscribe to our blog and stay inspired. Happy baking!


2 réflexions au sujet de “How to Make the Perfect Barbie Cake: Step-by-Step Guide for Beginners 2025”
Les commentaires sont fermés.