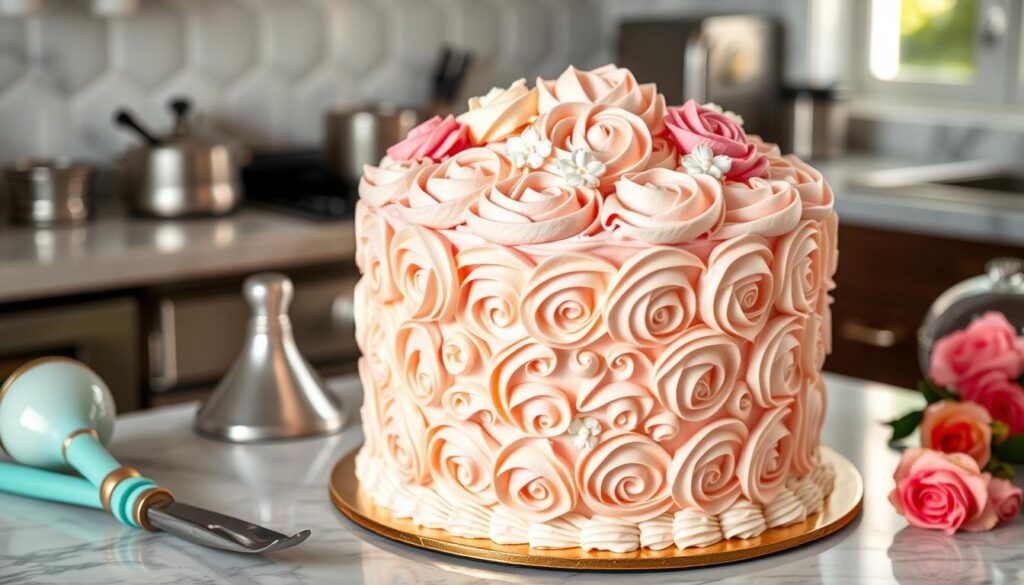
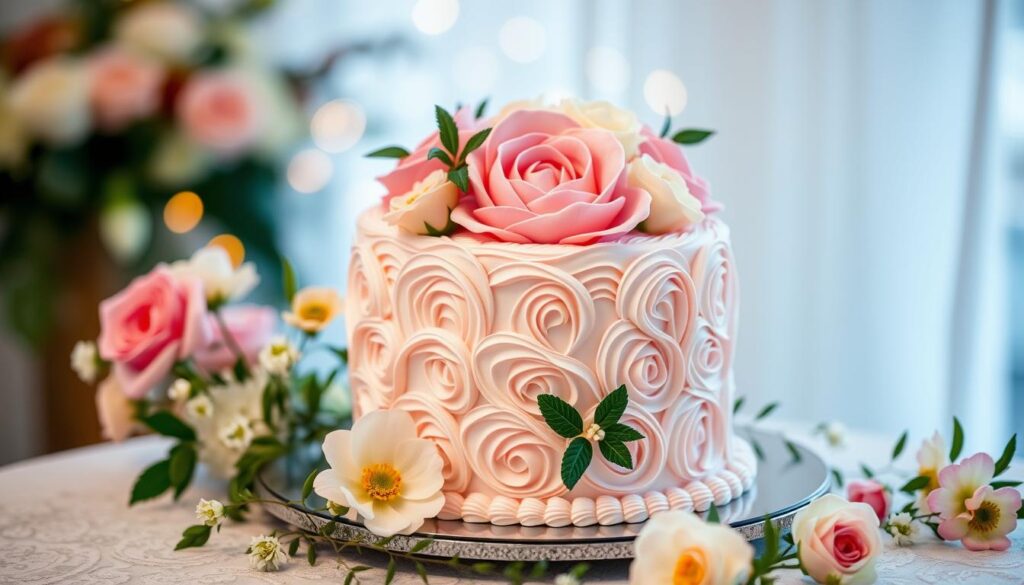
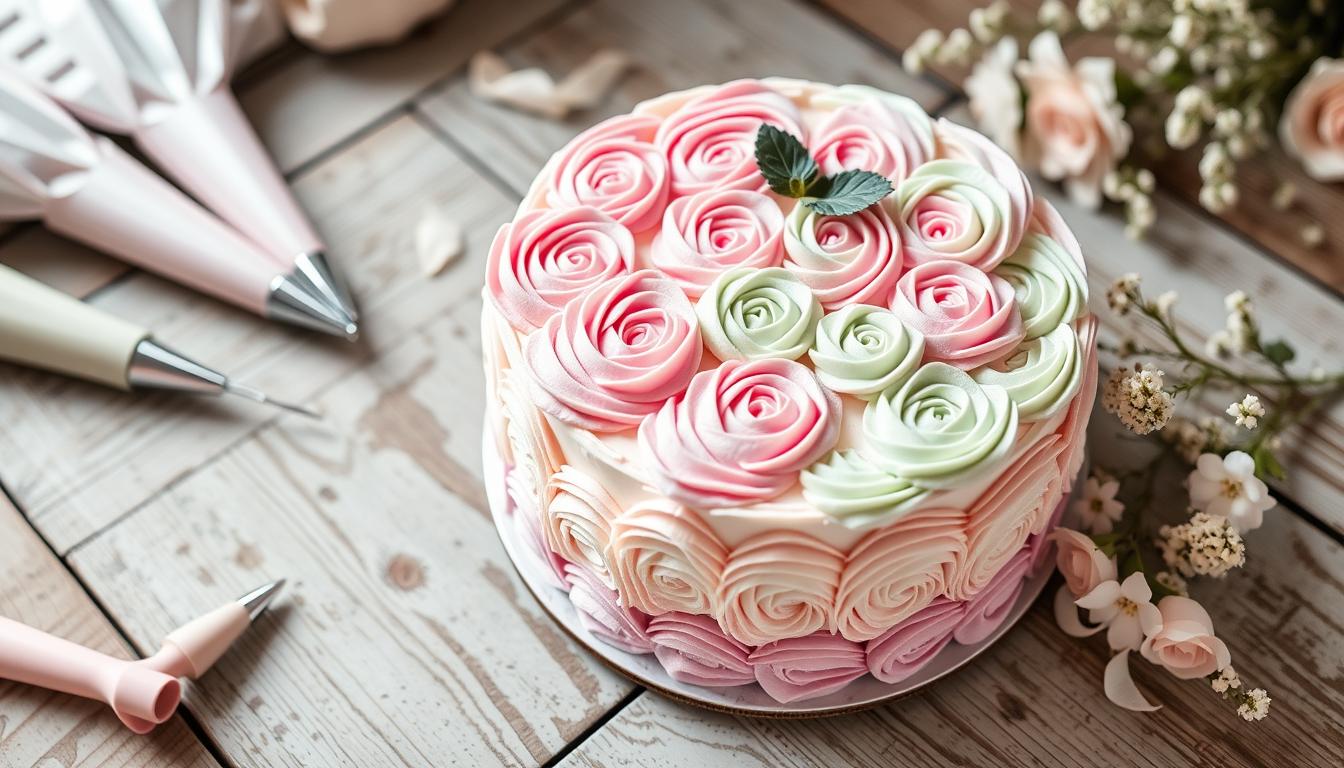
Welcome to the ultimate guide for creating stunning rosette cakes. These cakes will make your homemade desserts look like they were made by a pro. The rosette technique turns an ordinary cake into a breathtaking centerpiece for any special occasion.
Rosette cake decorating is more than just a skill—it’s a creative way to make edible art. Whether it’s for a wedding, birthday, or just to impress your friends and family, this guide has you covered. You’ll learn how to create beautiful rosette cakes from start to finish.
You’ll learn about the right tools and how to master intricate piping techniques. Discover the secrets to achieving picture-perfect rosette designs. These designs will look like they came straight from a high-end bakery.
Table of Contents
Essential Tools and Equipment for Creating Rosette Cakes
Starting your cake decorating journey means getting the right tools. These tools help turn your baking into stunning rosette cakes. They impress everyone who sees them.
Choosing the right tools is key to a great cake decorating experience. Here’s what you need to make beautiful rosette designs.
Piping Bags and Tips Selection
Choosing the right piping tips is crucial for perfect rosettes. Here are some tips for cake decorating:
- Round tips #2, #3, and #5 for general decorating (used in 75% of beginner projects)
- Star tips #14 and #18 for borders and rosettes (covering 60% of decorative work)
- Specialized tips #103 and #104 for creating buttercream roses and ruffles
Cake Turntable and Spatulas
A quality cake turntable is essential for smooth frosting. Use offset spatulas in different sizes for flawless surfaces and designs.
| Tool Type | Estimated Lifespan | Average Cost |
|---|---|---|
| Metal Piping Tips | 5+ years | $15-$25 |
| Plastic Piping Tips | 1-2 years | $10-$20 |
| Cloth Piping Bags | 2-3 years | $8-$15 |
Additional Decorating Tools
To improve your cake decorating, get these tools:
- Edible markers for precise detailing
- Fondant cutters for intricate designs
- Rolling pins for creating smooth surfaces
- Modeling tools for fine decorations
« The right tools can transform an ordinary cake into an extraordinary masterpiece. » – Professional Cake Decorator
Remember, practice is key in cake decorating. Most decorators say to try a technique about 50 times to get it right. With these tools, you’re ready to make stunning cakes that will wow everyone.
Understanding Buttercream Consistency for Perfect Rosettes
Making stunning buttercream frosting for your layer cake needs precision and skill. The key to beautiful rosettes is having the right buttercream consistency. Your frosting should be stiff enough for detailed designs but still smooth and easy to work with.
- Chill buttercream for 15-20 minutes before piping
- Use an open star tip (Wilton 1M recommended)
- Hold piping bag at a 90-degree angle
- Space rosettes closely for a fuller effect
« The magic of rosettes is in the consistency of your buttercream » – Professional Cake Decorator
Temperature is key for buttercream stability. If your frosting gets too soft, chill it for a few minutes. This keeps your rosettes’ edges sharp, especially with edible flowers or detailed designs.
| Buttercream Characteristic | Recommended Specification |
|---|---|
| Preparation Time | 20 minutes |
| Butter Quantity | 2 cups unsalted butter |
| Powdered Sugar | 6 cups sifted |
| Whipping Time | 3-4 minutes total |
Pro tip: Practice piping on parchment paper before decorating your final cake to perfect your technique and rosette placement.
Preparing Your Cake Base
Making a perfect layer cake starts with careful preparation. Your homemade desserts need a solid base. This is where cake decorating truly begins.
Before you start decorating with rosettes, you must learn some key skills. These skills turn an ordinary cake into a work of art.
Leveling Your Cake Layers
A perfectly level cake is key for a beautiful look. Here’s how to do it:
- Let cake layers cool completely
- Use a long serrated knife for precise cutting
- Cut with gentle, even strokes
- Rotate the cake for uniform leveling
Crumb Coating Fundamentals
The crumb coat is your cake’s first layer. It seals in crumbs and makes the surface smooth for decoration. Here’s how to do it right:
| Step | Technique | Purpose |
|---|---|---|
| 1 | Apply thin layer of buttercream | Lock in crumbs |
| 2 | Chill cake for 15-20 minutes | Set initial frosting |
| 3 | Use bench scraper for smoothing | Create even surface |
Creating a Pristine Foundation
For cake decorating success, focus on these crucial details:
- Ensure cake is completely cooled
- Use room temperature buttercream
- Work on a stable turntable
- Maintain consistent pressure while smoothing
« A great cake is 50% preparation and 50% technique » – Professional Baker’s Wisdom
Pro tip: Freeze your cake layers for 20 minutes before crumb coating. This helps minimize crumb release and makes the surface easier to work with.
Mastering the Basic Rosette Cake Technique
Rosette cake decorating turns simple cakes into stunning works of art. You’ll need a Wilton 1M Open Star Tip and a good piping bag to start. Learning the basics is the first step to becoming a pro at cake decorating.
Creating perfect rosettes requires consistent technique and lots of practice. Begin by placing your piping tip about 1/2 inch above the cake’s bottom. Move your hand in a controlled spiral motion to make each swirl.
« Practice makes perfect in rosette cake decoration. Don’t be afraid to experiment and develop your unique style. »
- Choose the right piping tip (Open Star recommended)
- Maintain consistent pressure while piping
- Start from the center and spiral outward
- Release gently at the end of each rosette
To make rosette patterns, split your cake into three parts for even spacing. This makes your design look professional. For an ombre effect, use four colors, starting with the darkest or lightest shade.
Experts say to practice as much as you can. You can also put unused frosting back in the bag to save it while you get better.
Pro tip: Consistent pressure and smooth hand movement are crucial for achieving uniform rosette sizes.
Color Selection and Food Coloring Tips
Cake decorating turns a simple dessert into a stunning work of art. Color is key in making special moments unforgettable. Learning about food coloring can take your rosette cake from ordinary to extraordinary.
Creating Custom Color Palettes
When picking colors for your cake, keep these tips in mind:
- Use gel food coloring for intense, vibrant hues
- Start with small amounts of color to control saturation
- Choose a white frosting base for true color representation
Exploring Ombre Effects
Ombre techniques add stunning depth to your cake. To achieve this, follow these steps:
- Divide buttercream into multiple bowls
- Gradually increase food coloring intensity
- Blend colors from lightest to darkest
Seasonal Color Combinations
Each season brings its own color palette for special occasions:
| Season | Color Palette | Mood |
|---|---|---|
| Spring | Soft pastels | Delicate, fresh |
| Summer | Bright, tropical | Vibrant, energetic |
| Autumn | Warm earth tones | Rich, cozy |
| Winter | Cool blues, silvers | Elegant, crisp |
« Color is a power which directly influences the soul » – Wassily Kandinsky
Pro tip: Professional bakers swear by AmeriColor and Wilton for vibrant colors. Try using edible flowers as natural color accents to make your cake pop.
Advanced Rosette Piping Patterns
To improve your rosette cake decorating, learn advanced techniques. These can turn simple designs into amazing works of art. Professional decorators focus on precision and creativity for intricate patterns.

Advanced rosette techniques unlock new artistic possibilities. Knowing about different piping tips helps you create stunning effects. These will wow any crowd.
- Round tips (sizes 2-5): Perfect for delicate rosette details
- Star tips (sizes 18-21): Ideal for creating textured rosette patterns
- Multi-opening tips: Fantastic for creating complex textural backgrounds
When diving into advanced rosette techniques, follow these tips:
- Practice consistent pressure control
- Experiment with different tip sizes
- Learn color blending techniques
- Master symmetrical rosette arrangements
« The secret to stunning rosette cakes is patience and practice. » – Professional Cake Decorator
For detailed designs, hone your skills with specific tips. Closed star tips (size 21) make structured rosettes. Open star tips (size 18) create softer patterns. Cake decorating fans can try various methods to make unique rosettes that impress at any event.
Troubleshooting Common Rosette Issues
Mastering buttercream frosting can be tough, even for pros. Rosette cake decorating needs precision and skill. Whether you’re following tutorials or working on a special project, knowing how to fix common problems is key.
Creating perfect rosette cakes involves managing several potential challenges:
- Temperature control of buttercream
- Achieving consistent piping patterns
- Managing frosting texture
Temperature Control Solutions
Your buttercream’s temperature is crucial for success. Frosting that’s too warm gets soft and loses shape. Frosting that’s too cold gets stiff and hard to pipe.
| Temperature Range | Buttercream Behavior | Recommended Action |
|---|---|---|
| 68-72°F | Ideal piping consistency | Begin decorating |
| Below 65°F | Too stiff | Let sit at room temperature |
| Above 75°F | Too soft | Refrigerate briefly |
Fixing Uneven Patterns
To fix uneven rosette patterns, remove bad parts with an offset spatula. Gently scrape away problematic areas without damaging the cake’s base coat. Practice consistent pressure and circular motion when piping to keep rosettes even.
Addressing Texture Problems
Texture issues can mess up your cake’s look. Air bubbles and peaks come from bad mixing or overfilling piping bags. Use a coupler when changing tips, and avoid overloading your piping bag for smooth, professional rosettes.
« Perfection in cake decorating comes from patience and practice. » – Professional Baker
Incorporating Additional Design Elements
Take your cake decorating to the next level by adding unique touches. These can turn a simple rosette cake into a showstopper for any special event. Your cake will become a visual masterpiece with the right embellishments.
Professional cake decorators suggest several ways to improve your rosette design:
- Edible flowers add a delicate, natural touch to your cake
- Chocolate decorations create elegant architectural elements
- Metallic accents introduce sophistication and glamour
- Fondant embellishments provide texture and dimensional interest
When adding design elements, balance is crucial. About 65% of professional cake decorators use finishing touches like edible flowers and chocolate garnishes to make desserts stand out.
« The art of cake decorating lies not just in technique, but in thoughtful embellishment » – Professional Pastry Chef
Here are some tips for placing your design elements:
- Create focal points around the cake’s base
- Use asymmetrical arrangements for visual intrigue
- Match color palettes with your rosette design
- Maintain clean lines and intentional spacing
Whether it’s for a wedding or a small gathering, these elements will make your rosette cake a true masterpiece. It will captivate and delight everyone.
Special Occasion Rosette Cake Ideas
Rosette cakes are perfect for celebrating life’s big moments. They’re great for weddings, birthdays, or holiday parties. These cakes mix art and taste in a beautiful way.

A rosette cake can make any event special. Each cake tells a story with its buttercream designs. It captures the spirit of the celebration.
Wedding Cake Elegance
Weddings are a great time for rosette cakes. Here are some ideas:
- All-white multi-tiered designs with cascading rosettes
- Ombre color gradients matching wedding color schemes
- Delicate pearl or metallic accent rosettes
Birthday Cake Creativity
Birthday rosette cakes can be fun or fancy. They show off your style and age:
- Bright, multicolored rosettes for kids’ parties
- Elegant single-tone designs for adult birthdays
- Personalized color palettes matching party themes
Holiday-Themed Rosette Magic
Seasonal rosette cakes add joy to holidays:
| Holiday | Rosette Cake Design |
|---|---|
| Christmas | Red and green ombre rosettes |
| Valentine’s Day | Pink and red heart-shaped rosette patterns |
| Easter | Pastel-colored rosette swirls |
80% of people like customized cakes for special days. Rosette cakes make a memorable centerpiece. They please the eyes and taste buds.
Storage and Transportation Tips
Keeping your homemade desserts safe is key, especially for special occasions. Moving a delicate rosette cake can be tough. But, with the right steps, your cake will arrive in top shape.
First, understand the importance of temperature. Your buttercream rosette cake needs the right conditions to stay beautiful:
- Refrigerate cake for 30 minutes before transportation
- Use a non-slip cake carrier
- Keep cake level during transit
- Avoid direct sunlight and extreme temperatures
Here are some key tips for moving your cake:
« A well-transported cake is a well-enjoyed cake. » – Professional Cake Decorator
| Storage Method | Duration | Temperature |
|---|---|---|
| Refrigerator | Up to 3 days | 35-40°F |
| Room Temperature | 4-6 hours | 68-72°F |
| Freezer | Up to 2 weeks | 0°F |
For special occasions, get a pro cake box with non-slip. These boxes keep your cake safe and stable.
Professional Photography Tips for Rosette Cakes
Capturing the beauty of your homemade desserts is more than just cooking. Professional photography can turn your cake decorating into stunning images. These images show off your creativity for special occasions.
Lighting is key when taking pictures of rosette cakes. Natural daylight near a window gives soft, even light. This light makes the buttercream rosettes look delicate. Stay away from harsh overhead lights that create bad shadows.
- Position your cake near a white or neutral background
- Use a reflective surface to bounce light and reduce shadows
- Experiment with different angles to capture rosette details
Composition is also very important in cake photography. Here are some professional tips:
- Place the cake on a clean, simple surface
- Leave negative space around the cake to draw focus
- Use props sparingly to complement the cake’s design
« A great photograph tells a story without words » – Food Photography Experts
Editing your cake images can make them look even better. Gentle adjustments to brightness, contrast, and saturation can make your rosette cake look like it’s from a magazine. Just remember, small changes are best. They enhance without hiding the cake’s natural beauty.
Conclusion
Exploring rosette cake decorating is like stepping into a world full of creativity. With each homemade dessert, you’ll grow your skills. Soon, you’ll turn simple cakes into stunning works of art that everyone loves.
Learning rosette cake techniques takes time and effort. Every stroke of the piping bag is a chance to get better. You can play with colors, textures, and designs to show off your unique style.
Cake decorating is a journey, not a destination. Start with simple patterns and then try more complex ones. Whether for family or professional events, your love for decorating will make every cake special.
Keep practicing and trying new things. With time and effort, you’ll make cakes that amaze and inspire. Your creations will be a testament to your creativity and skill.

